Work. Work. Work.
All work and no CoCo makes Capt. a dull boy.
Ahhh. Vacation.
CoCo fun commences tomorrow. :) Until then...
HAPPY HALLOWEEN!
 Work. Work. Work.
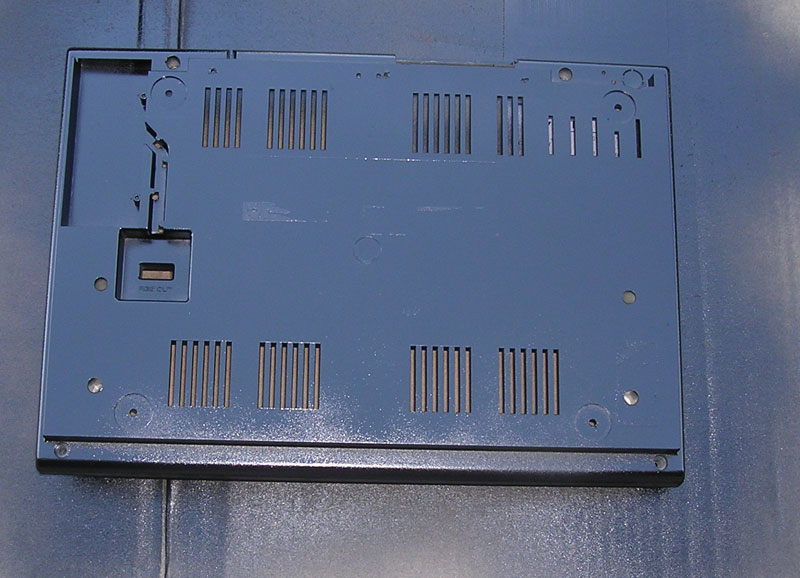 First, that paint I mentioned before, Krylon Fusion, rocks. It rocks hard. Serious rockage. Here's a picture (forgot to take more of the finished job, but plenty coming soon enough) of one coat on the bottom of the case as a test. Note that I didn't put in a lot of effort to clean up the bottom of the case. Just peeled the stickers off, and scrubbed it down. Not gonna look at the bottom much anyway. heh... More care will be required for the top.
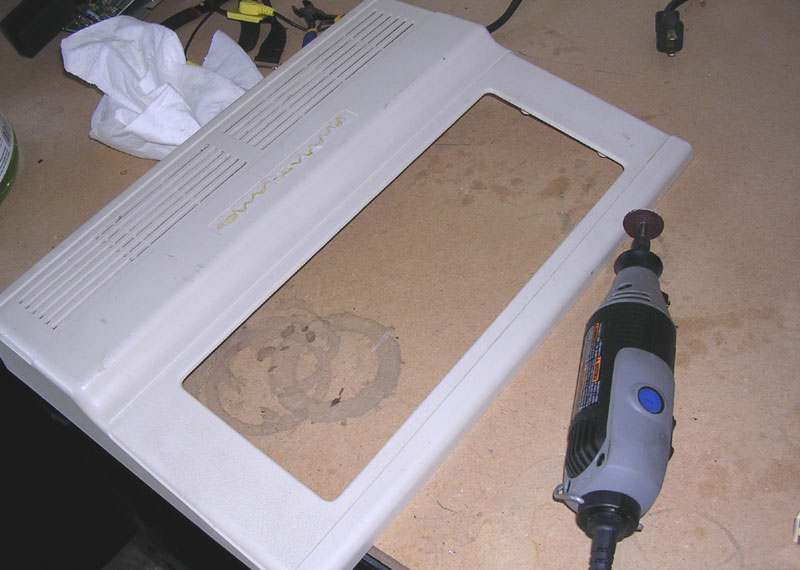 Making a mess is one of the fun parts of building something, and cutting and modifying plastic always makes a nice mess! :) The plastic in the CoCo's case isn't terribly thick, but it's too thick to cut with your average hobby knife. Actually, you can but it makes an even bigger mess and it'll take forever. And since we're all about More Power, let's see what happens when we attack it with a Demel Tool! Bwahahha!
 Sure enough, makes a HELLUVA mess. That garbage shred on top is actually melted plastic. Apparently taking a cutting wheel spinning at 10,000 rpm to your CoCo case will do that. Go figure. :) Okay, seriously, this is a good thing. That the plastic melts when heated means it can easily be molded, cut and shaped. It would be a Bad Thing if it was more heat resistant.
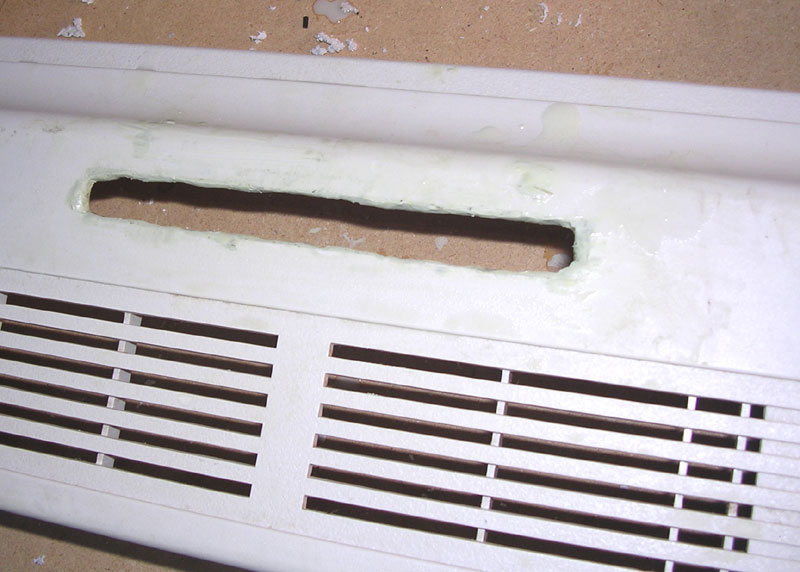 This is the messy part. Milliput is pretty messy. Get's all over when wet. This picture shows where I've backfilled the cut out area. We want to use more than is necessary, a lot more. We're going to file off most of it, becuase the cut is not terribly smooth and all whacky off kilter. When we sand down the Mulliput, it will form a perfectly smooth and level edge. Promise. :)
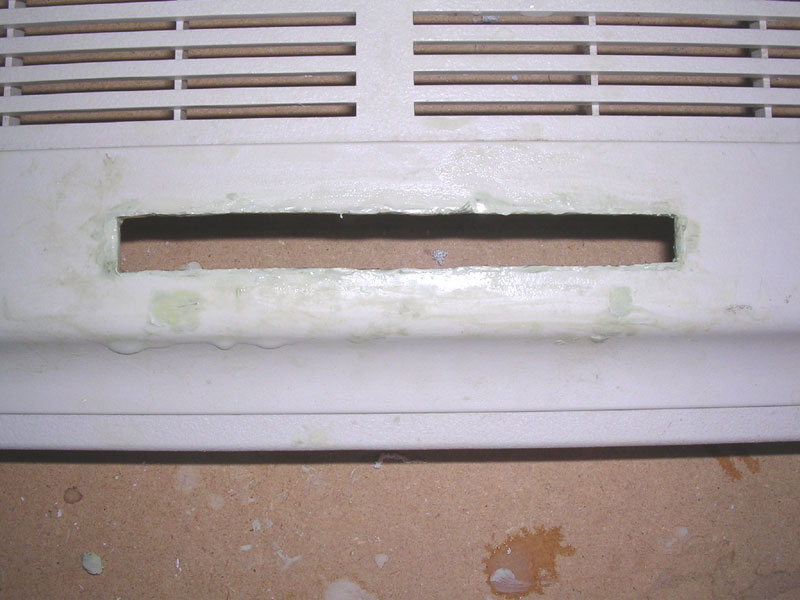 Working with Milliput isn't tricky once you know how it's going to act. It dries in phases, and what you do during those phases is important. When you first mix it (it's a two part mix) it's pliable and sticky. This is great for getting it to stay put in places where some putties might fall out or drip. In this phase, you can also wet it with a little water and smooth it with your finger or sculpting tool. This second picture shows the mulliput smoothed a little bit. My sculpting set it just a set of dental tools. The standard dental set has all the miniature sculpting tools you'll need and is relatively inexpensive.
 This final picture shows some of the tools used. In model making, this is what we call the "Ass Point." The point where the thing just looks like complete ass. This is where a lot of people give up because it's hard to see the finished project through the huge messy crap we've just spent a couple of hours making. No worries. Having been here many times before (some days I live in the ass point), I swere it'll work out. ;) When it's done, it'll look like it came from the factory that way. In the next step we'll attach a straght-edge to the case and position it as a fence to sand a nice straight and smooth edge around the cut out. We'll be using a micro file to sand down the edge by hand. More work, but a much nicer result.
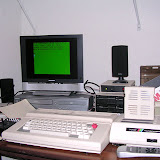
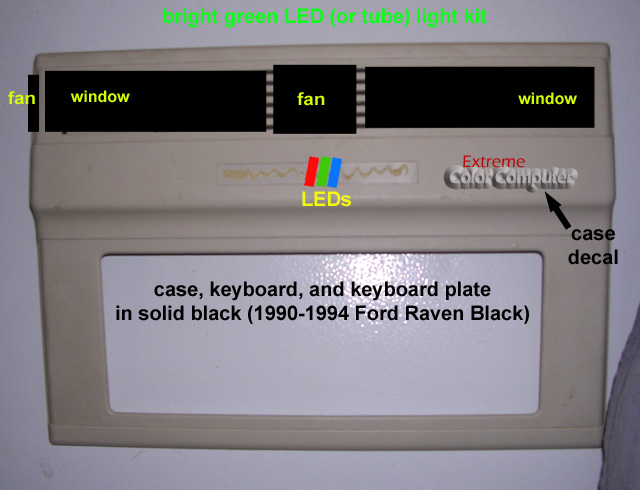 In the meantime, I did manage to get a little planning done. Digital cameras and photoshop have made building much easier. Sure you can still detail diagram out modifications and designs, and for intricate or complex stuff that's definately the way to go. On the other hand, if you just plan to slap on some paint and cut a few holes, crude overlays in Photoshop work great. This is the initial plan for cutting up the CoCo case.
 I've been looking forward to trying this new paint from Krylon called Fusion but haven't had an opportunity. Well, I'd planned to use autobody touch up paint, but for about $5.00 this is worth a try and considerably cheaper. I love experimenting with new materials and stuff. :) They also have a new H2O brand of acrylic spray on paint. My prefered medium by far. Acrylic is smooth and super tough when dry. For the CoCo's case, though, we'll try the Fusion because it is suppose to bond with the plastic, making it tough and smooth. We'll see, but can't wait to have a go. I chose black satin for the case. The key's will be the same, but will require several top coats after the decals are applied. Painting and putting itty-bitty decals on all the keys should be challenging. (Behind there you can see the plexi I'll be using for the windows and off to the left, nestled in the case is the PBJ 512K upgrade. If I switch boards I'll have to figure out how to do this upgrade to the new one. Yipes!)
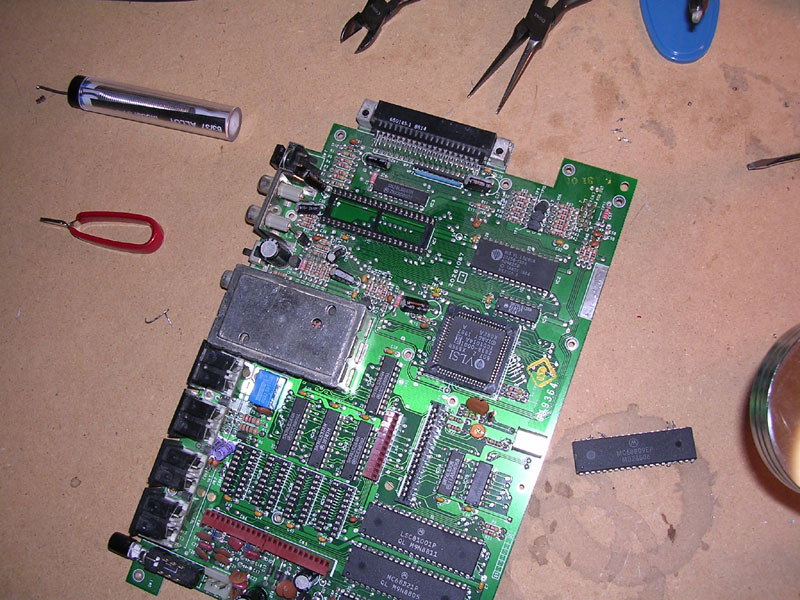 Here's a picture of the 6809 socket. No chip to go in it yet, but soon we'll be able to wire it up and give it a try it. Should look pretty funky with all the wires coming out of it from where I burned the pads off the board. Assuming I get it to work, of course. If not, we'll swap in another board I have and go with the nice, reliable soldered 6809 instead.
 And sadly, here's a close up of the mangled 68B09EP. Sigh. Poor guy. Tried to save him, but ended up having to cut it out of there. He's been sitting there quietly doing the job for probably close to 20 years and then some bungling dumbass comes along and rips his brains out. Sheesh. We'll save him for posterity, of course. :)
 PS If anyone gets a chance, take a look at this drive and let me know if there's anything more I need to do to it (it's a 1024x768 picture). Briza mentioned a terminator chip, but I don't see anything here that indicates such a beast. This is the top drive, Drive 1 in a two drive system. Many thanks.